AI助手支持GPT4.0
Chrissy will make your website more interactive!
Chrissy将使您的网站更具互动性!
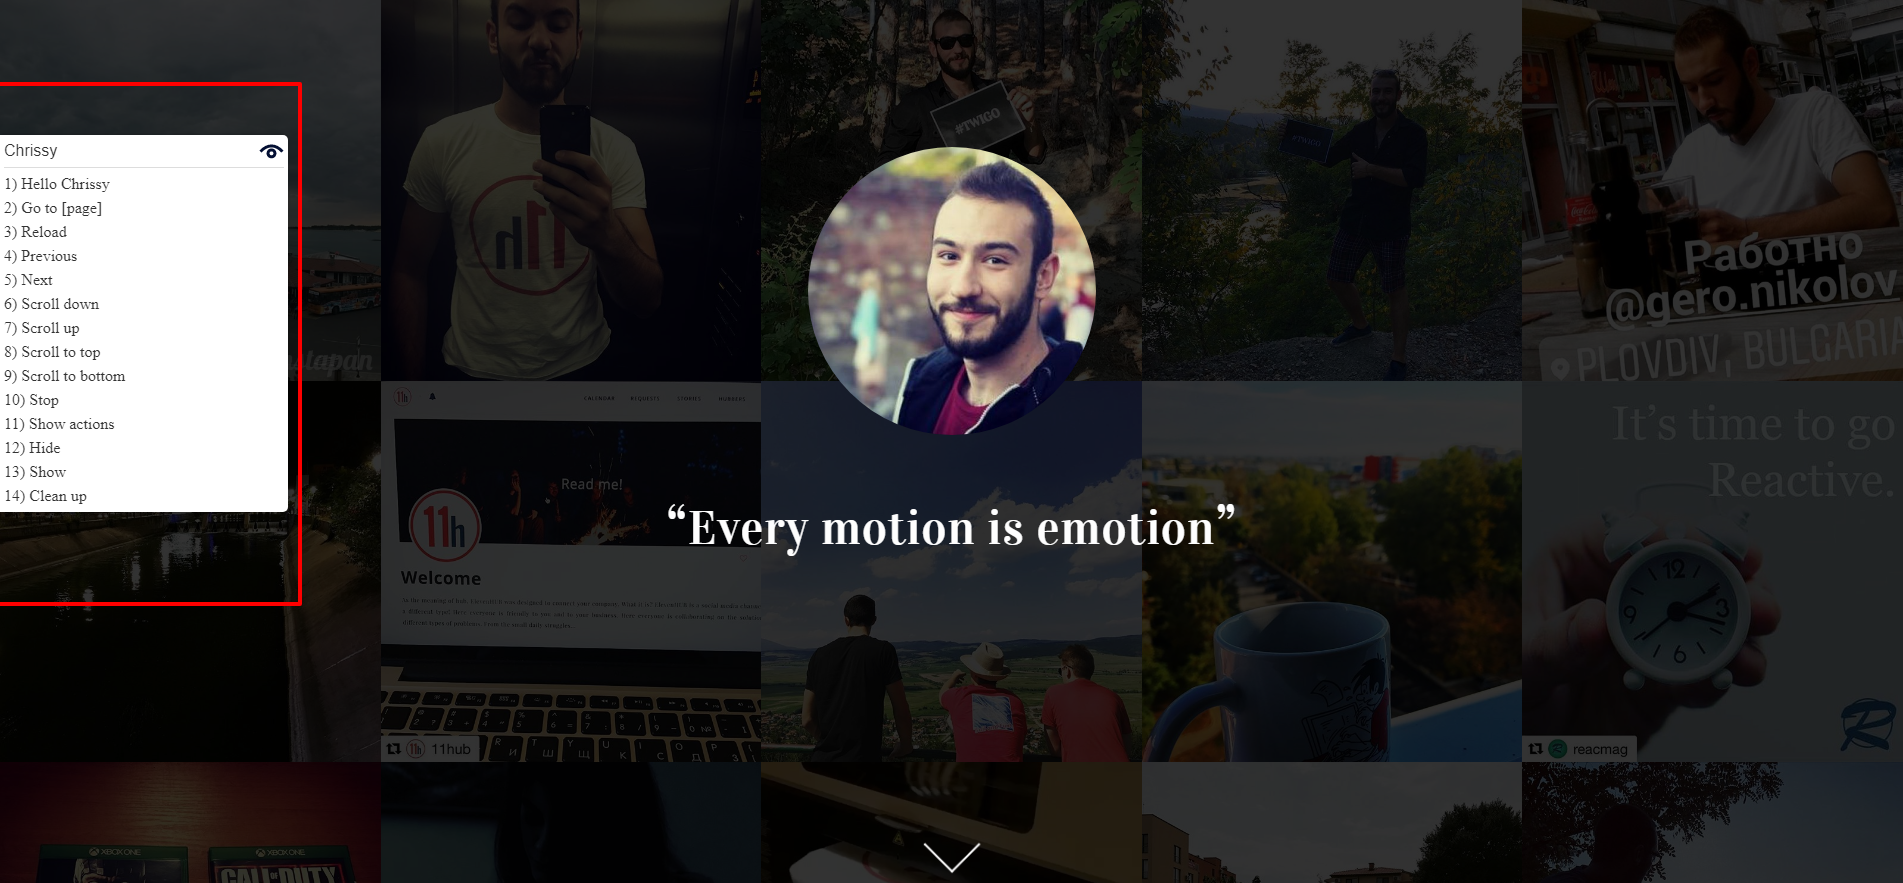
She will provide your visitors with the ability to just mention the name of the page which they want to visit from the menu and she’ll bring them there.
她将为您的访问者提供从菜单中提及他们要访问的页面名称的功能,并将其带到那里。
Example: Go to Blog
示例:转到博客Using the Google Speech Recognition API to catch precisely the User Voice Input, Chrissy is the first Voice Driven Navigagor in the WordPress world! Chrissy使用Google语音识别API来精确捕获用户语音输入,是WordPress世界中的第一个语音驱动导航器!Of course she knows that not all of the browsers support the Speech Recognition API, so she’ll relieve her self only to visitors who are using Chrome and Chrome on Android.当然,她知道并非所有的浏览器都支持语音识别API,因此,她只会对使用Chrome和Android上的Chrome的访问者放心。And since Chrissy is one great thing, I would like to tell you that you can join the contribution and make it greater with your ideas using the links from bellow ⬇️由于Chrissy是一件伟大的事情,我想告诉你,您可以使用下面的ow️链接来加入您的贡献并通过您的想法使它变得更大Try live demo at GeroNikolov.com or在 GeroNikolov.com 或上尝试现场演示Join the contributions!加入贡献!
Using the Google Speech Recognition API to catch precisely the User Voice Input, Chrissy is the first Voice Driven Navigagor in the WordPress world!
Chrissy使用Google语音识别API来精确捕获用户语音输入,是WordPress世界中的第一个语音驱动导航器!
Of course she knows that not all of the browsers support the Speech Recognition API, so she’ll relieve her self only to visitors who are using Chrome and Chrome on Android.
当然,她知道并非所有的浏览器都支持语音识别API,因此,她只会对使用Chrome和Android上的Chrome的访问者放心。
And since Chrissy is one great thing, I would like to tell you that you can join the contribution and make it greater with your ideas using the links from bellow ⬇️
由于Chrissy是一件伟大的事情,我想告诉你,您可以使用下面的ow️链接来加入您的贡献并通过您的想法使它变得更大
Try live demo at GeroNikolov.com or
在 GeroNikolov.com 或上尝试现场演示
Join the contributions!
加入贡献!
This section describes how to install the plugin and get it working.
本节介绍如何安装插件并使其正常工作。
e.g.
例如
/wp-content/plugins/plugin-name
/ wp-content / plugins / plugin-name 目录,或直接通过WordPress插件屏幕安装插件。Activate the plugin through the ‘Plugins’ screen in WordPress通过WordPress中的“插件”屏幕激活插件Use the Settings->Plugin Name screen to configure the plugin使用“设置”->“插件名称”屏幕来配置插件(Make your instructions match the desired user flow for activating and installing your plugin. Include any steps that might be needed for explanatory purposes)(使您的说明与激活和安装插件所需的用户流程相匹配。包括说明性目的可能需要的所有步骤)
原文出处:http://www.sanshu.cn/a/7247.html
群主管理都是支付大佬